
Today I am going to show you how to make your own HANDMADE PAPER!
You can add seeds too & make plant-able seed paper :)

First things first. Materials needed for this project is baking racks (the kind shown below that you put hot from the oven cookies on ;) Screen mesh, a container wide enough to accommodate
for the baking rack, shredded paper, a hand blender, shammy towels, cloths-- I like old pillow cases but you can use any type of fabric bigger than the drying rack as blotter layers for the paper. optional- flower seeds of any variety.


Cut the screen to the exact size as the baking sheet and tack it down with a few hand stitches around the drying rack to create the screen. ( I realized I didn't snap a picture of this oops!)


If you don't have some paper shreds on hand- go to town in your shredder. Don't get worried about what color the paper is, once it is mixed and made into the paper it comes out to a grey color.

Put in about 4 cups of shredded paper into the bottom of the bucket for a small batch and up to 10 cups of shredded paper for a large batch.

Whatever amount of paper shreds you decide to use, pour in 3 times more water than that amount of paper. I like using warm water, you can use whatever- just warm/ hot helps break the paper down more. Let the mixture sit at least 30 minutes.

I got this mixer at a yard sale for $5. A total score!!! I only use this mixer for non-food projects. I wouldn't suggest using the same blender you use for food to mix up the paper...


Stick the blender into the mixture on high being careful not to slosh the mixture back up at you.
Once you have blended up all the paper to mush you'll end up with this-

These are the seeds I like to use:

Like you are "panning for gold" slip the screen down under the paper, bringing the screen up slowly and a full layer of pulp against the screen:

Letting the water to drip out can be tricky. I like to precariously balance two edges across the bucket letting the water drip down before I smush the water out using a pillow case. You need to be very careful letting it drip this way + when you smush down the blotter fabric because if the screen slips off the corner not only does it make a HUGE mess, but you have to pull a new sheet on the screen and start over
You can sprinkle a light layer of seeds across the pulp here or wait until the next step where I have pictured. The seeds get incorporated more at this step whereas putting them in later makes one side flat/ plain. Just sprinkle the seeds on the pulp- try not to get too much in the watery pulp if you are making a large batch.

Here is a close up of the pulp:

Lay your pillow case gently over the pulped paper on the screen (Making sure not to let it slip into the watery mix of destruction) pushing slowly down- pressing out the water. You want to smooth and press out all the water from what will be your paper sheet. It is more of a pressing than a mixing touch that helps keep the paper smooth and sturdy.

You want to get as much water out as possible pressing the paper. The pillow case will be soaked once you pushed the water out!

Here I laid down a shammy cloth over the pillowcase to be the main absorbent layer under the paper.
Flip the wet top of the pillowcase onto the shammy cloth and s-l-o-w-l-y pull of the screened baking rack to form the sheet.

Make sure you are pulling off the edges slowly or else you end up missing a corner like this:

See- I missed a corner :(

Rinse the screen back into your tub so this gunk doesn't go down the drain. Also, using a kitchen drain cover with a screen when making this project is a MUST! Whatever you have left in your tub will need to be drained, but an upside- the pulp remains makes good compost :)
Back to the point (I am a very frequent passenger of tangent airlines- sorry!)
Pictured- I sprinkled the seeds down once I flipped it onto the shammy, but I think it is best to put them on the paper before that first pressing to achieve it fully being seed paper.

Flip up the dry part of the pillow case over the paper and push down & smooth more water out.

Layer more shammy cloths on top of the pillow case layer.

Press until Dry (Can take 2-3days to fully dry)
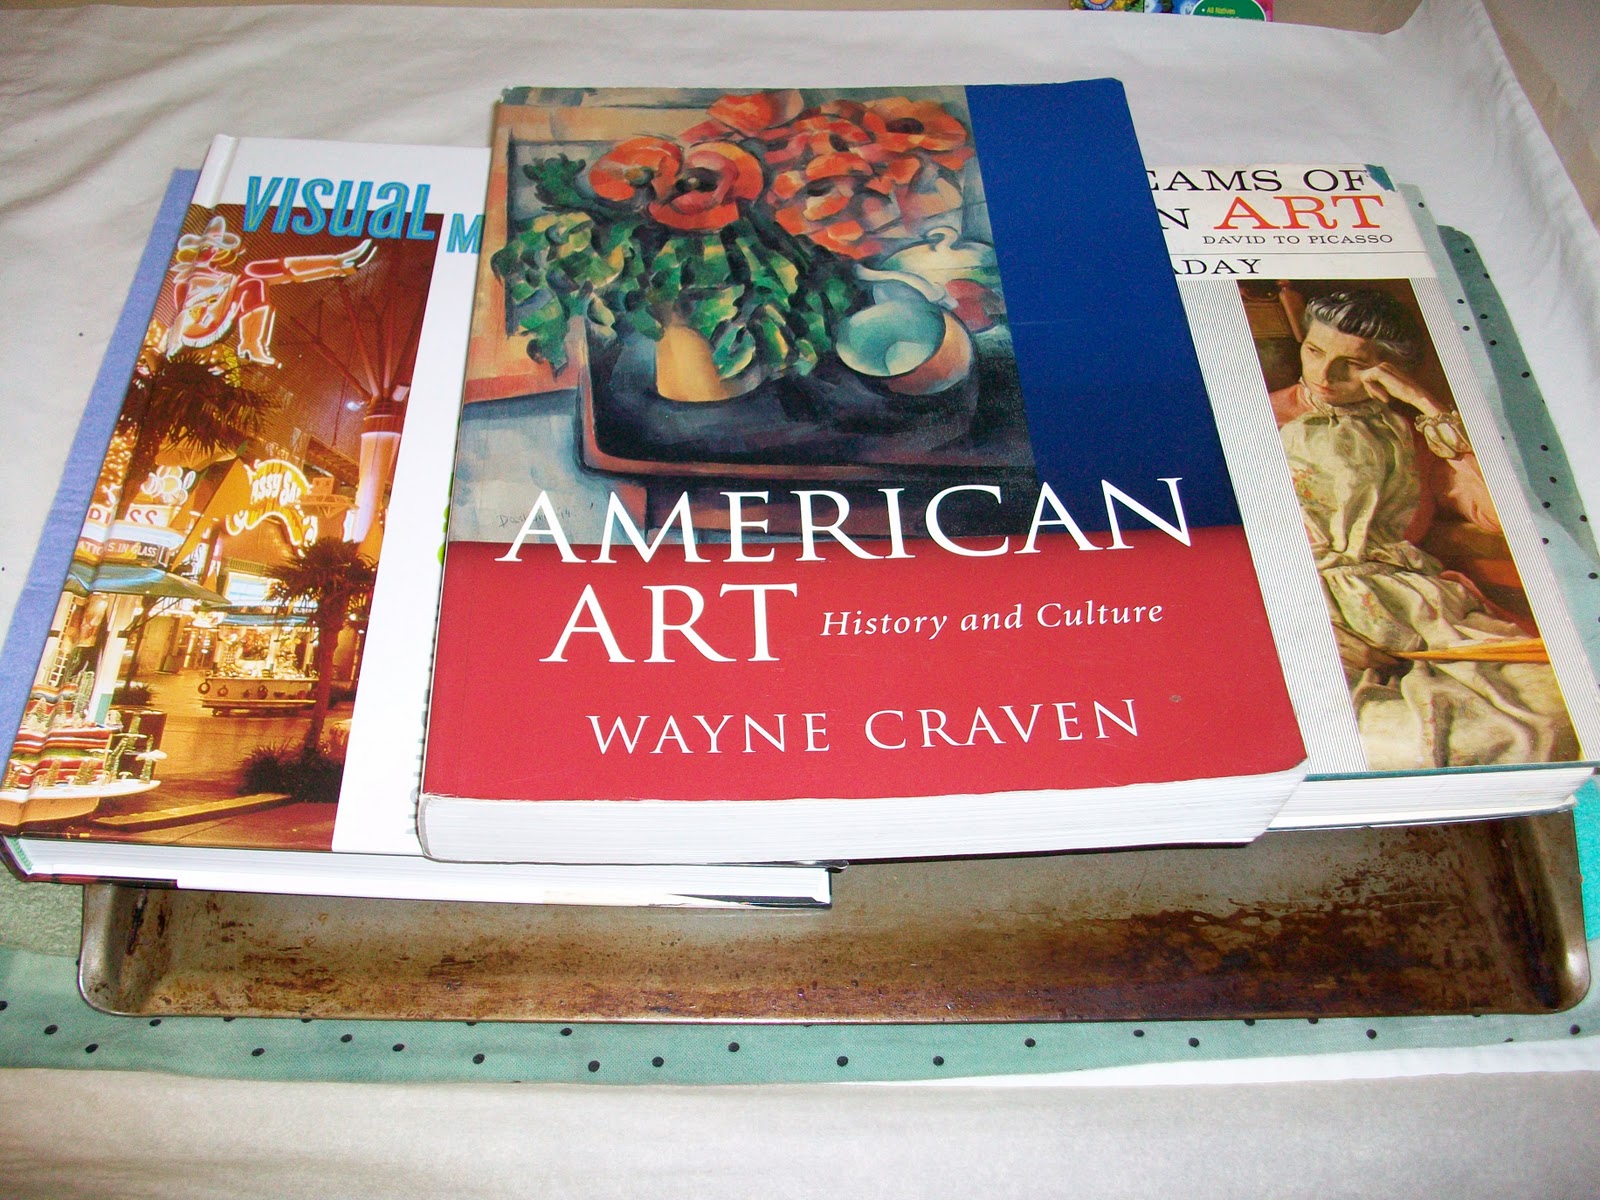
Art history books, encyclopedias, and other large books make good weights to flatten your paper. Notice I used a baking sheet in-between the blotter layers and the books so the books don't get ruined. To make the paper it expels a lot of water so be mindful of that when you are working on/ nearby- the paper can ruin things that touch it without realizing. (true story!)
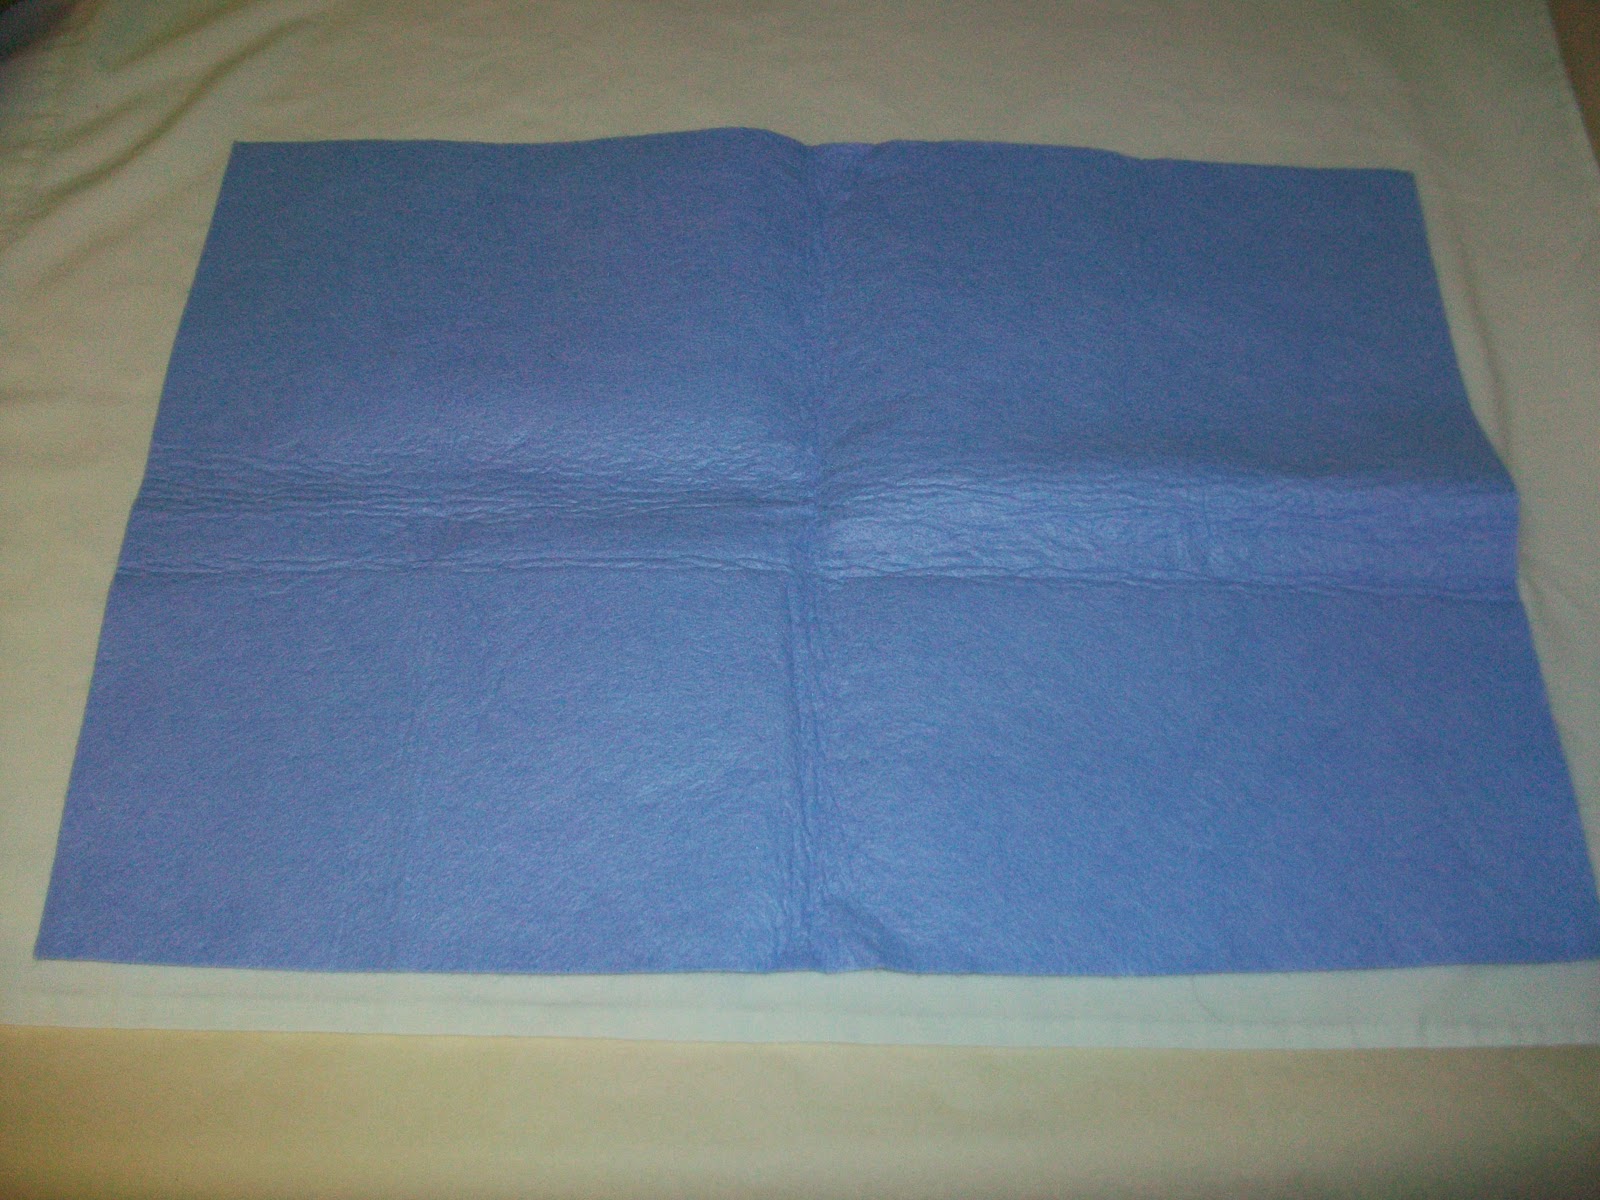
Tah-Dah! Handmade seed paper!!! Here is what the seeded front side looks like:

Here you can see the backside is smooth. You can write notes in pencil on the smooth side and after the recipient reads it they can plant it for the second gift of their own flowers. How exciting!!!

Now just make a few more sheets and you can make a sweet handmade paper book ;) This paper can be used as covers to jotter journals, stationery, and all kinds of other cool paper things.
Planting Instructions for Seed Paper:
(Check your seed's instructions, but for the most part here is the general instructions)
Handmade seed embedded paper can be planted directly into the soil in a pot, or in your garden. The dirt should be firmed down after sowing and the seeds should not be more then 1/8 in. deep. They must be kept moist for 4-6 weeks and receive 4 hours of sunlight each day in order to germinate properly. Many wildflowers are drought tolerant once established, but must receive adequate water as they sprout.
Hope you make and Enjoy!!!
XOXO,KC
No comments:
Post a Comment