While at Craftcation one of my favorite sessions was Crafting a Lightbox
with Radmegan!
Everyone who sells on Etsy knows how important photography is when selling your goods online- But knowing it's importance vs. actually achieving amazing pictures can be tricky.
With that in mind when I saw there was a session that would help me learn to make a lightbox cheap and efficiently I had to take it!
Here is an example of pictures taken of the same address book:
(one with and one without the lightbox)
 |
| Address Book taken w/o lightbox (mid-day, bright sun) |
 |
| Taken with lightbox (mid-day, bright sun) |
Big difference right?!? One of the amazing attendees who was in my class Stefanie Japel (of Stephanie Japel Knits) posted this on the results of her light box- check it out here.
Make Your Own:
For our lightbox we started with a 14"X 14" X 14" box, an exacto blade, a metal ruler, waxed paper and both transparent as well as masking tape.
Tape the box together using sturdy tape.
Cut out four of the sides (I used a metal ruler as the guide, but you can cut out the frame however you'd like) as shown:
You don't want to make the frame left behind too skinny. At this size the waxed paper barely fits. If I had known this I would have either left a bit more cardboard or purchased the extra wide waxed paper so it would fit better.
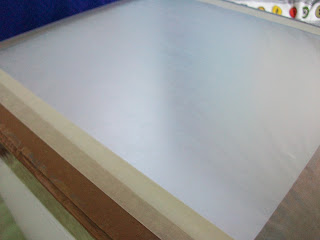
Lay the waxed paper across the tops of the openings on the left side, top side, and right side of the box and tape it secure. as shown above.
This will make the inside super clean as show bellow:
This way if anything happens to the wax paper it is really easy to reattach a fresh piece.
If the wax paper doesn't quite make it to the edge, use masking tape to cover up the difference so that harsh light doesn't sneak in.
Then you need some backdrops! Find some nice heavy weight paper in white, black and grey to attach to the back of your lightbox and you will have the perfect place to stage pictures with all of your small items :)
You want to cut it small enough to fit inside with enough length to give it a soft curve in the back. This way the background looks seamless in your photos.
Now its time for you to try it out and see how easy it is to jazz up your pictures :) *Also, Radmegan says she is posting her lightbox info soon, so I will do an
update and share her video when it becomes available.
Enjoy! XOXO, KC


I soooo needed this! Thanks for sharing it :)
ReplyDeleteAWESOME!!! Enjoy and hope you get some stunning pictures ;)
ReplyDeleteThanks I'm making one of these! Very helpful
ReplyDeleteYay! I am glad to share anything that may be helpful or time saving :) We would love to see before & after pictures too- it is crazy how different things look in the box!
DeleteI can't believe I am only now seeing this when it was posted back in 2012!! But I love this and need to make one!! You mentioned an update with a video when you got it, but I don't see it... can you share the link please?? Thanks!
ReplyDelete