Showing posts with label Cakes. Show all posts

Tuesday, June 5, 2012

How-To's Day: Mercury Glass Wedding Votives

Alessandra really liked the look of Mercury Glass which can be quite pricey.  Wanting votive glasses and candles filling the two-stories of the historic Montauk Club would be a challenge if not for this easy DIY project.

For this project you need Looking Glass Mirror-Like Paint and a spray solution of equal parts vinegar and water in a spray bottle.

Solution = 1 part Vinegar to 1 part Water

After pooling loose votives from various sources we came up ~300 short from our target so Alessandra ordered some votive holders to complete the project.  This project is WONDERFUL for upcycling (Making  use of recycled items as materials while saving energy and resources that would be used in recycling) and is a great way to refresh new life into old jars and other glass items.

Spray the votives or item you are working on with a light layer of the silver paint.

Here Alessandra is showing off her technique rolling the paint around in the glass to make sure there wasn't a big glob. Set aside to dry.  After around 3 minutes you can spray a light amount of the vinegar and water solution inside the painted area and lightly dab the paint with a paper towel creating the variation in the paint making it look "cracked".

As the layers of paint build up you can control the opacity more, just make sure the beginning layers you have a light touch with the vinegar solution because it strips the paint creating the technique.  It is super helpful that this paint reacts to vinegar because clean-up is a breeze with non-diluted vinegar unlike regular spray paint.

Layer #1 down! As you can see it is very light and you will need several layers to create a wonderful effect.

Ale` finishing up a votive
We worked on this project in sections which is helpful to not get burned out mid-project. It also helped the enjoyment level by being in beautiful Prospect Park where we could sit out and work in the grass.

Now for some examples from the big day :)


Along side the mercury glass votives and flower centerpieces, we used vintage number cards from Etsy seller 30one for the table numbers shown above.

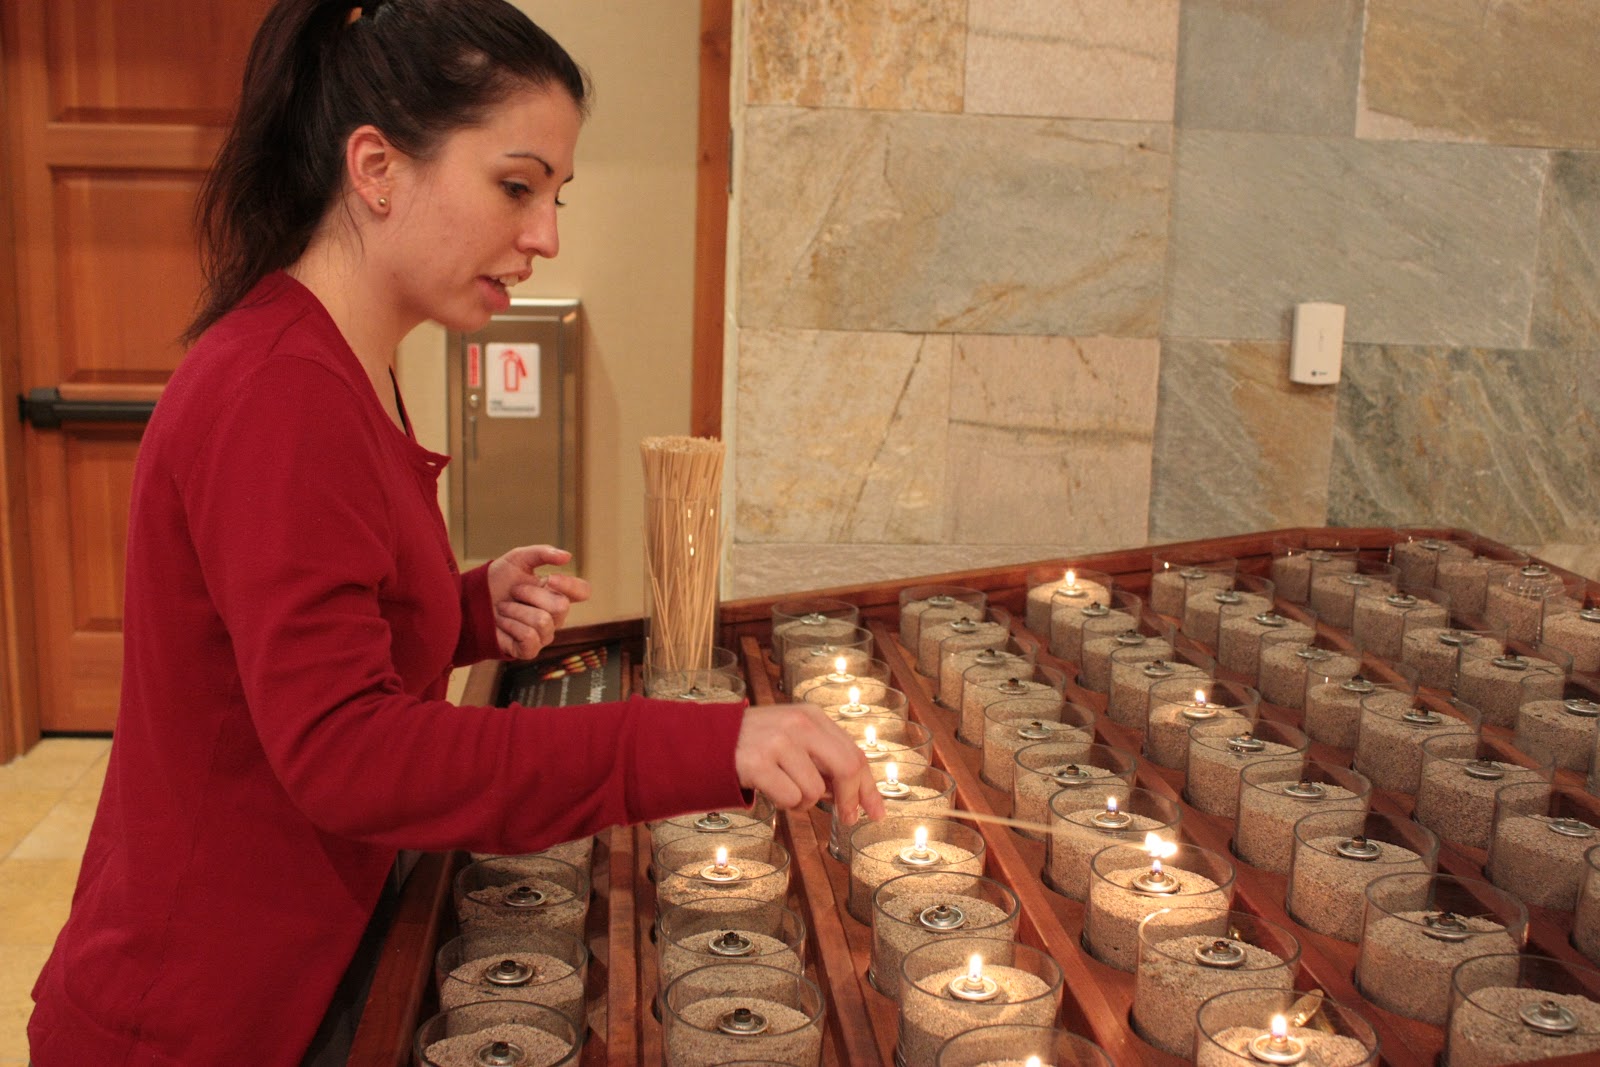
Here the candles around the cake shows off the hint of pink this Brooklyn Bride highlighted in her Navy & Pink celebration. The bow theme (which will be highlighted in a soon-to-come post) is continued on the two -tiers of their cake which was two of my favorites: red velvet and carrot cake. As a wedding gift and added touch they received the Kate Spade New York "Grace Avenue" Dessert Serving Set which was the perfect addition to the fabulous cake table.

We had a wonderful time working on these votives and we hope you enjoy making some for yourself too.
Happy Making!
XOXO, KC


Wednesday, September 28, 2011

Wedding Wednesdays: Our Wedding Invitations and Cakes

Hi everyone! Yesterday I posted some fun pictures from Kevin and I's wedding- if you missed it, here it is. Today I wanted to share some details on a fun cake motif that is a fun way to incorporate fabric into your big day.
I really like that this cake inspired the tone for our invitations and ultimately set the tone for our wedding.  I made several versions before I came up with this appliqued and machine embroidered cake. The red and turquoise color pallet originally started out of necessity because our reception site was floor to ceiling RED, bright red, and I really wanted a colorful wedding and I wasn't sure how to work everything in.  

Honestly with the distance I was a super weird bride and didn't look at my reception site in person until the day before my wedding. I think everyone warning me just in case it would be a problem got me to think the red was an overly big deal... but it was minimal in hindsight. 

I am glad I got worked up about it though because number one in my planning became what to do about the red. Red is one of my least favorite colors- but for my family of die hard NC State Fans they were stoked to wear their favorite color to our wedding.  My Grandpa was so happy that after working at NC State for next to forever he had his favorite red dress outfit that he could wear.  Come to think of it the fashion at my wedding made an impact on my deep subconscious because up until our wedding blue in any shade wasn't really my thing either.  It really was these fabric cakes that started my obsession thinking back on everything. Wow! Thanks little fabric cakes and all of my girlfriends in their super cute turquoise dresses- I dunno what I would do without my turquoise now!

Here is a a highlight of the process that I took to make these little cakes for the invitations.  The cakes don't have to only be for invites- I could see large numbers over them for table numbers and could be stitched or glued onto almost anything.

First, I just created a box the size I wanted to final size of the card to be to be and played around with layouts and fonts for the inside of the invite. I am pretty sure these cards are made to fit envelopes that were 4.75" x 6.5" so the card was 9" x 13" and I added small corner markings to know where to cut and fold.  One of the benefits to printing and making the cards was we were  putting very basic information on the invitation and it seemed crazy for someone else to make the cards. You can see at the very bottom of the postwhat the text inside the invite looked like. Here are amazing examples on how you could word your invitation. Usually too there is a sample in one of the many bridal magazines your reading that you can work off also. 

I printed of 95 cards on my home printer. Folded each one with a bone folder. Then cropped them with a craft paper trimmer to size. 

I drew by hand a cake that I liked and cut apart all of the pieces after numbering them.  There is a top piece of cake (1), a middle piece of cake (2), a bottom piece of cake (3), and a plate (4).  You could do as minimum as 2 different pattern and/or colors of fabric but I chose 4 all together.  Once you cut and number these pieces you can either use them as a template and trace around them on the paper side of the heating bond (which is what we did) or you could print out a sheet of paper where you have laid out the pieces on it in as many times as can fit and stick it to it to the back off the heat and bond.  Heck, now a days printers might could just print on the paper side of the heat and bond possibly now.

Wednesday, March 30, 2011

Wedding Wednesday- PICTURES & Details @Mariners Church

Sam and Jennie's Wedding last Saturday was so beautiful. The Mariner's Church is such a gorgeous place intergrading a natural rustic feel in a contemporary space. My first impression walking into the chapel was that it had a very cozy and intimate feel. I really like how big everything feels in the pictures compared to being in the space.


I was there Saturday to make sure all the decoration and reception details were taken care of. It was so much fun being able to decorate the whole wedding and reception. I had help of course, and along with the brides clear vision, I was able to utilize my "tool box" to take care of behind the scenes. Jennie was a wonderful bride to work for and she had everything super organized for her big day. I am so happy that I could help work the finishing touches to make her dream wedding! The pictures below are of the isle decorations/ pew bows that Jennie created for the ceremony. Also the peacock theme as you can see continued throughout. I tulle wrapped the isles and hung the peacock decorations and laid out a scalloped flower petal isle runner down the center isle to highlight the entrance.


One awesome thing Jennie decided to highlight at the reception was a cake buffet with nine different flavors of cakes. She had a friend in the mountains make cake displays for her in two different heights so the cakes could be staggered on the table. You can find some similar cake stands on Etsy Here. I wanted to do a treasury but they have to include 16 different items... But it seems like a keyword of "rustic" gets you these items.


I looked all over Etsy to see if there was a similar bird cake topper, and found nothing quite as realistic type of bird. Jennie should really think about sourcing out some of theses really amazing items she had for her wedding in her Etsy shop.

I worked the cake table during the reception and everyone seemed to flock to the strawberry filling chocolate cake.  They all looked so fantastically tasty but I was able to hold out until we got to Chick-fil-a! 

One of my favorite parts of going down to the OC is indulging on my favorite thing that reminds me of home.  I still can't believe our high school's athletic events sold chicken sandwiches... Yummy!  I love that I am wearing my fancy dress at this fast food joint in this picture-lol


I am off working on getting the labels off these blue and green glass bottles that we are collecting for a wedding table display. Next week there will be more details on how to elevate bottles to a classic and romantic take on simple elegance.


Best wishes for a creative and positive week to all!
XOXO,
KC

Wednesday, January 26, 2011

Wedding Wednesday- Cake Pops

Today I thought I would shoot off a quick re-post of a must on my list of things to try. I am really intrigued by making Cake Pops, and I found these posts that make me really want to jump on the dessert bandwagon. Do you think I am a culinary master enough to try and substitute vegan stuff in and achieve this? No. So I think I will look over it and salivate, and wait for a chance to make these for more than just Kevin and I.


Cake Pops are the new cupcake for the alternative to a full wedding cake these days, and how can you not love them?!?! The beauty of having the just the right amount of cake without a ton of frosting is definitely appetite inspiring. All the different appealing varieties and designs make them that much more desirable. Best part, they can double as take-away favors!


There was an awesome Etsy blog post by Bakerella on making amazing Bride & Groom Cake Pops pictured above.  You can check out the post here.  Along with the new and AMAZING Cake Pops book, Bakerella constantly has new blog posts on every delicious baked confectioneries with tips and resources to create your own at home. Make sure you to go to Bakerella's Blog and follow all the tasty fun!
Related Posts Plugin for WordPress, Blogger...