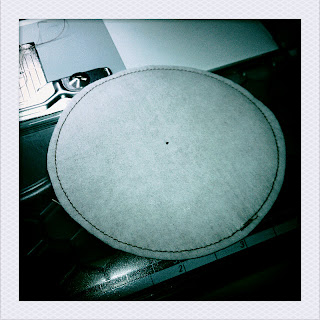
I love circles! Circles are definitely one of my favorite simple shapes and can be the trickiest to sew.
One fast and easy way to make a finished edge circle is to use a circular embroidery attachment like the one Bernina makes: Circular embroidery attachment #83. You can check out a sweet video demo here on using the foot. I purchased this foot a long time ago so I am not sure what the current price is- but whatever it is, if you like sewing circles it is totally worth it! You can make these flipped circles by tracing a circle on stabilizer and stitching along the line. I will show both options in the details below.
If you have squares of fabric pre-cut from previous projects, make the circles in the area with in the fabric squares. If you need to gather squares for this project, I am using a 5"X5" square and yields a 3 1/2" finished circle nicely. Whatever size you decided to make your circle you need one piece of fabric and one piece of regular stabilizer (the kind that doesn't have that iron-on glue on one side) of the same size as seen below.
If you don't have a circle foot here is where you trace your circle.
Stitch along the circle or use the foot to stitch the circle.
Once the circle is stitched you trim around the circle leaving around a 1/4"- 3/8" allowance around the stitching.
Here is the trimmed up circle:
Carefully cut an "X" through the layer of stabilizer as seen below:
Flip the circle into itself using the "X" cut you just created.
This is the backside so the slit doesn't matter. Flipping the circles with the interfacing makes the rounded-edge of the circle nice and pretty.
Tah-dah! A finished, flipped edge circle!
If you make multiples you can sandwich them together to make coasters:
You can also just use one circle as an applique and other additions to fabric projects. Since there is a stabilizer layer, this is a perfect base for items like beading, embroidery or other adornments.
I hope this helps you make the most amazing circles :)
Enjoy! XOXO, KC


No comments:
Post a Comment